1. Introduction to Subtitles & Captions
Before contributing, it is essential to distinguish between the two types of files:
- Captions (CC): Designed for the deaf or hard of hearing. They are created in the same language as the audio and include relevant sounds (e.g.,
[Upbeat music playing]).
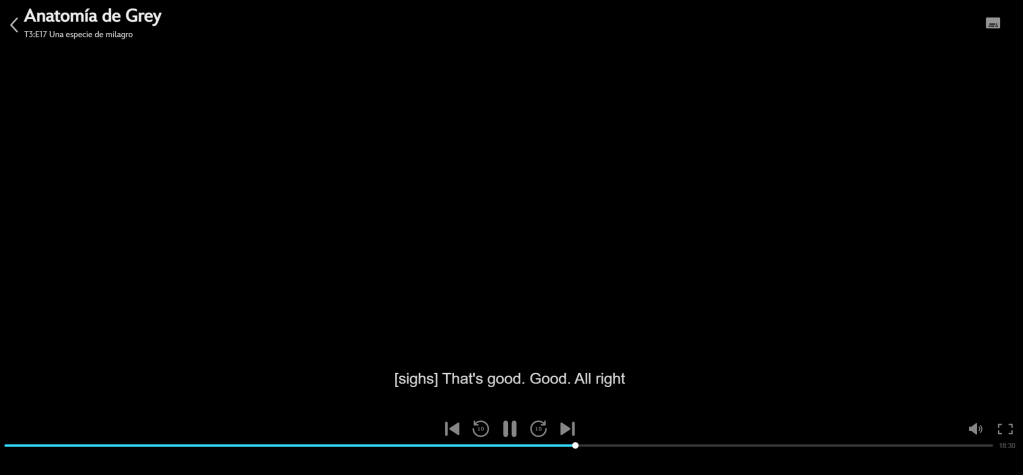
- Subtitles: Designed for viewers who do not understand the spoken language. These are translations into a different language.

2. How to Create Captions (Same Language)
This is the workflow for generating the accessibility foundation for any WordPress.tv video.
Step 1: AI Generation with Vibe
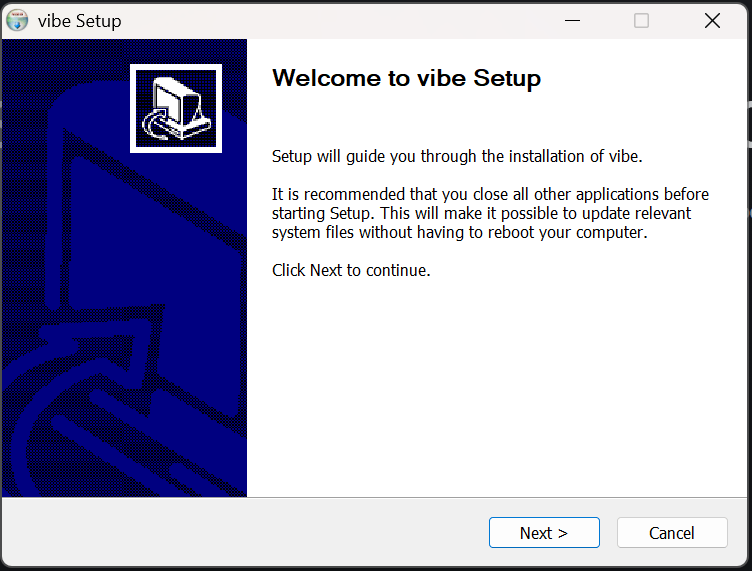
We use Vibe (a local, AI-powered tool) to get a fast and highly accurate initial transcript.
- 1. Installation: Download and install Vibe on your local machine on https://thewh1teagle.github.io/vibe.
- 2. Upload: Drop your video file into the application.
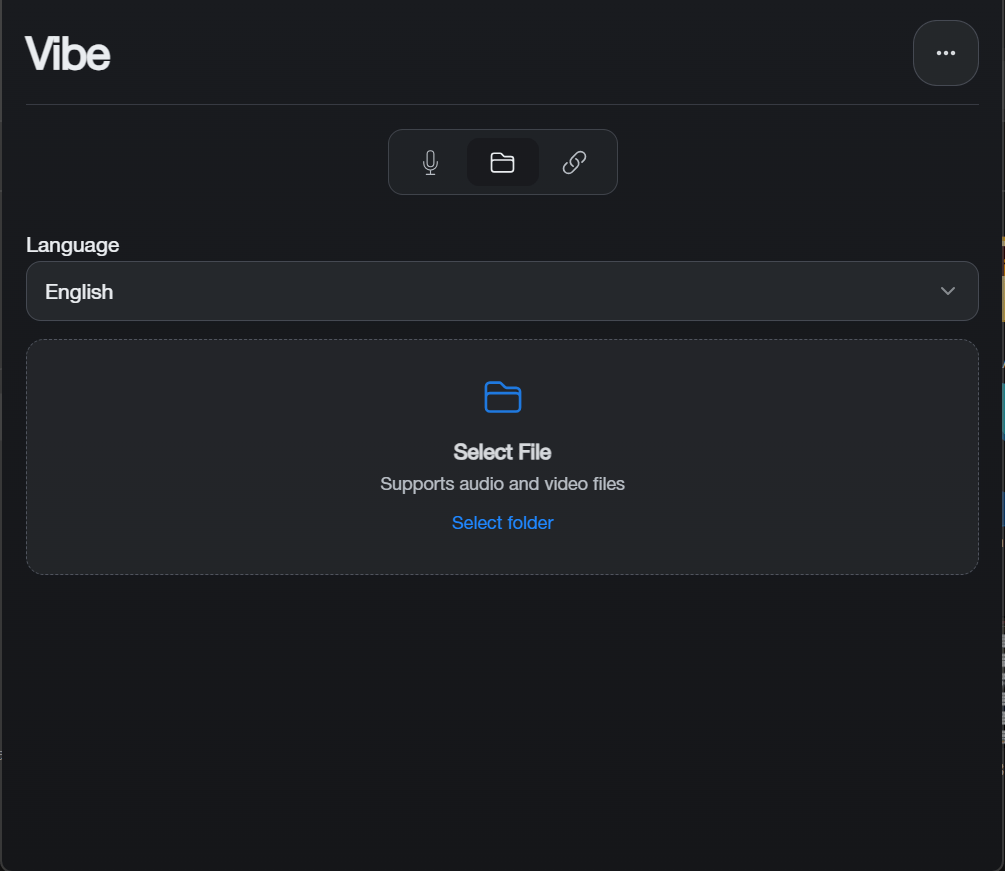
- 3. Settings: Select the video’s original language or use “Auto-detect.”

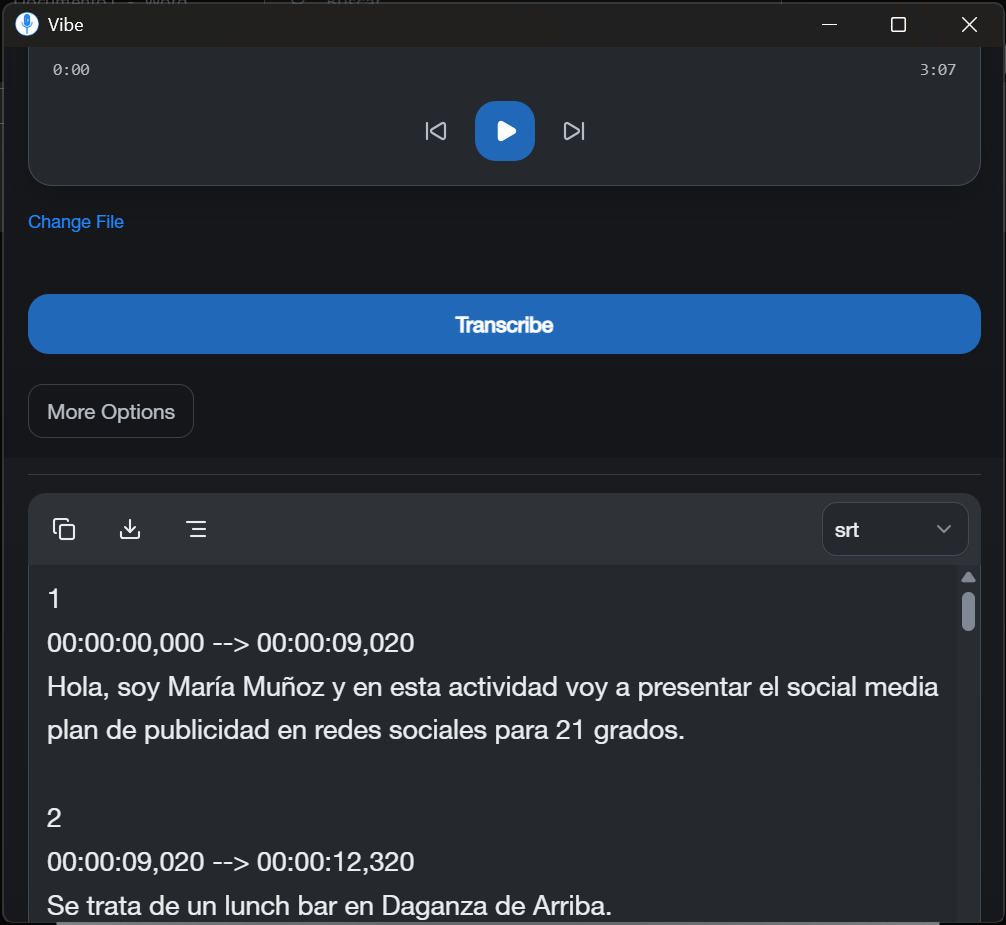
- 4.Process: The AI will transcribe the audio and generate a raw
.srtfile.
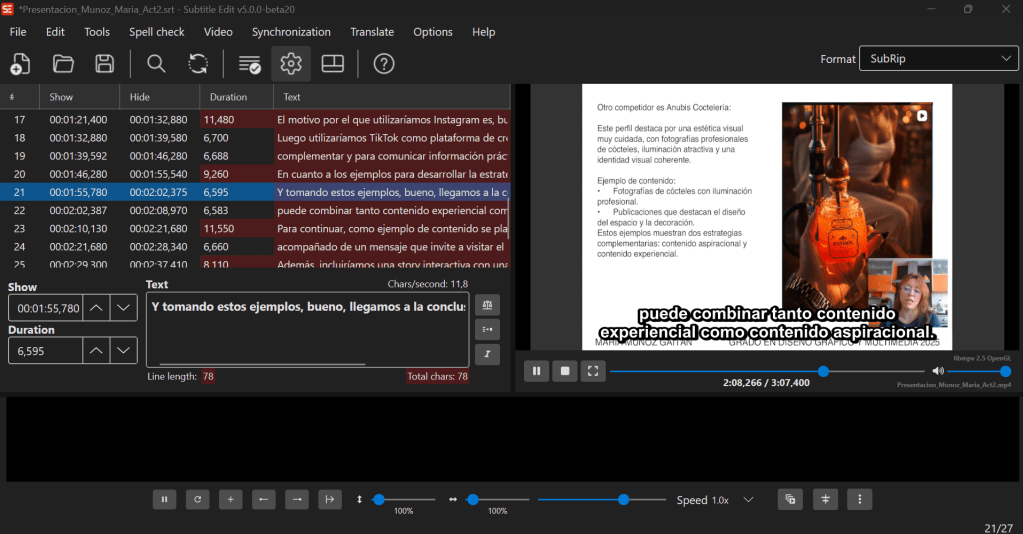
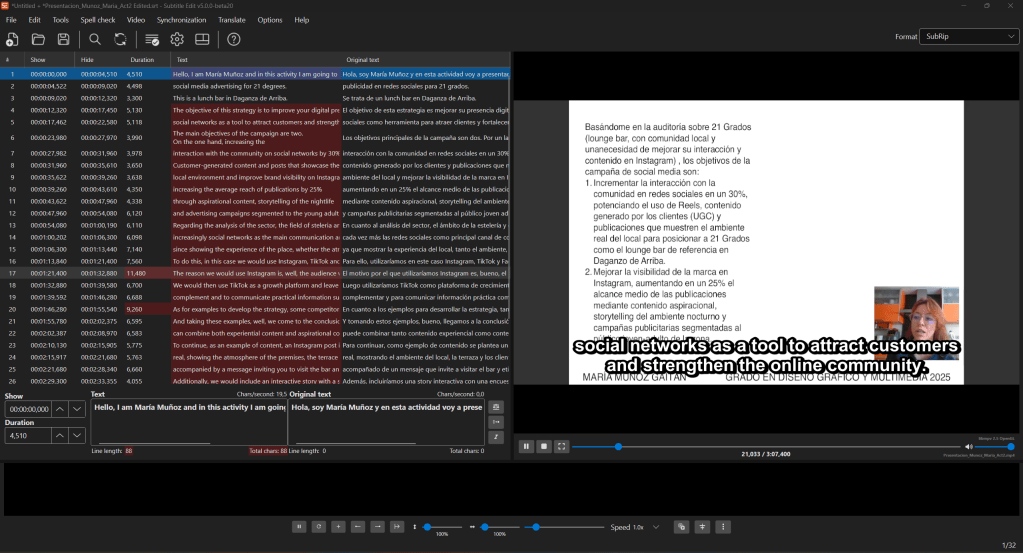
Step 2: Fine-Tuning with Subtitle Edit / Open Credits
AI transcripts are rarely perfect. Manual “polishing” is required. You can download and istall Subtitle Edit: https://github.com/SubtitleEdit/subtitleedit/releases
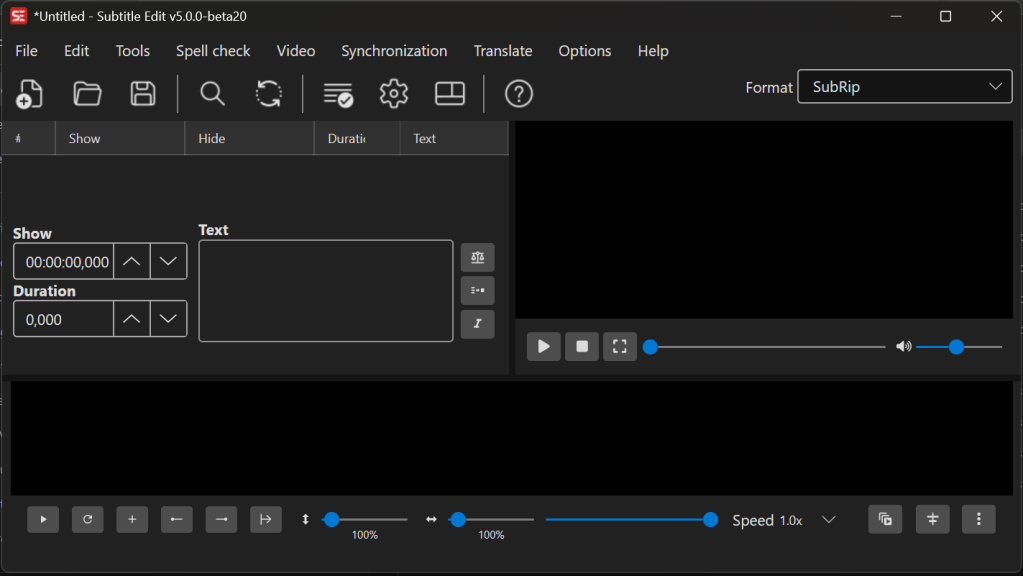
- Synchronization: Open the
.srtin Subtitle Edit (or Open Credits) to ensure text aligns perfectly with the speech. - Technical Review: Correct any specific terminology that the AI might misinterpret.
- Readability: Ensure no more than two lines of text appear at once.
Step 3: Format Conversion
WordPress.tv often requires specific formats like TTML.
- Use an online converter or the “Export” feature in Subtitle Edit to convert your
.srtto.ttml. You can use: https://www.better-converter.com/Subtitles-Converter/Str-to-TTML-Subtitle-Converter
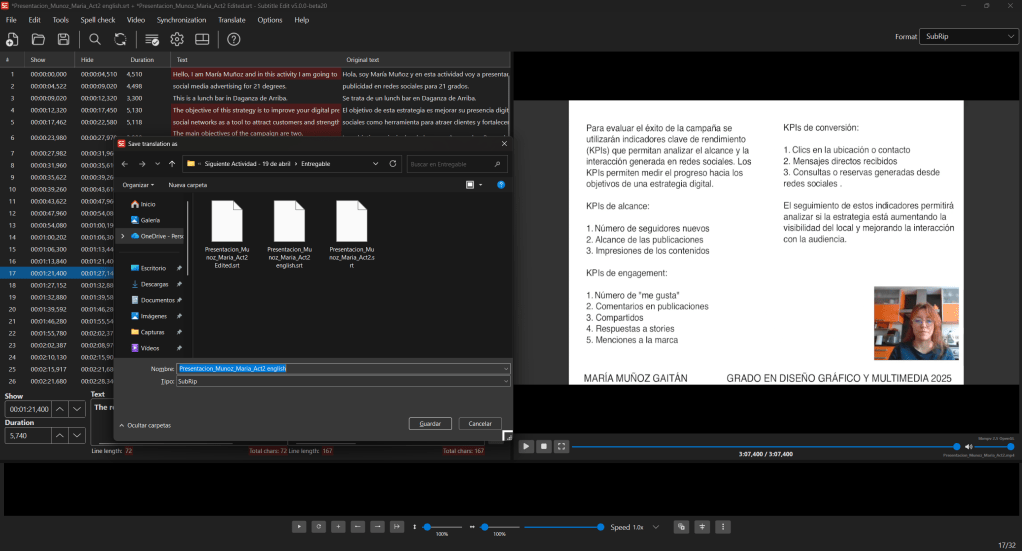
3. How to Create Subtitles (Translation)
Once the original Captions are ready, creating translations allows our global community to access the content.
- Auto-Translation: In Subtitle Edit, use the “Auto-translate” feature to generate a parallel column in the target language (e.g., English to Spanish).
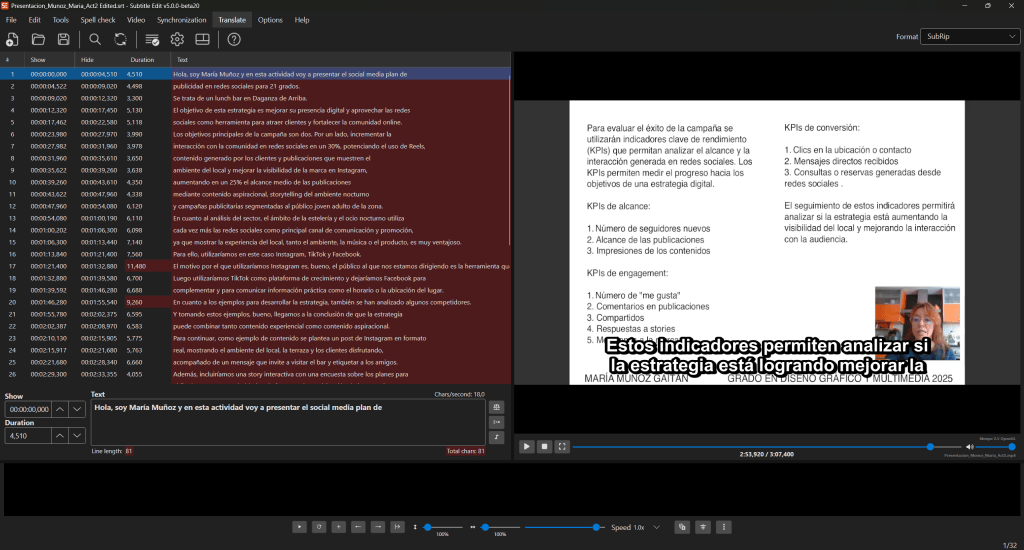
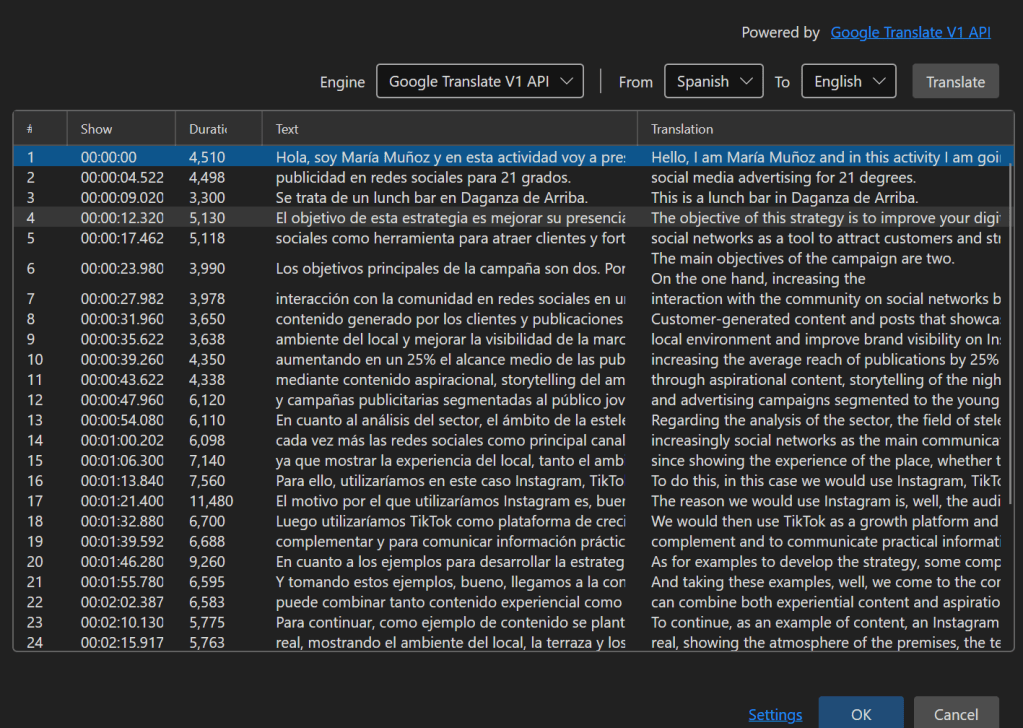
- Human Review: A manual review is mandatory.
- Export: Save the translated file and convert it to the required format.
4. Alternative: Using the YouTube Subtitle Generator
If you prefer a cloud-based workflow:
- Upload the video to a YouTube channel (can be set to “Unlisted”).
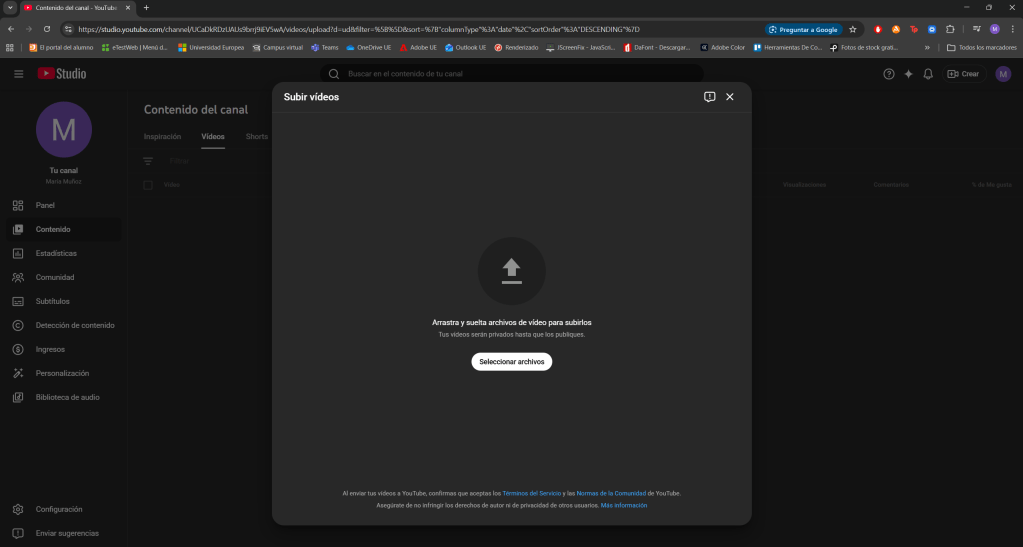
- Wait for YouTube to generate automatic subtitles.
Automatic synchronization is not yet available for Spanish, in this case you can upload your .srt file.

- Use the YouTube Studio editor to correct the text and timing.
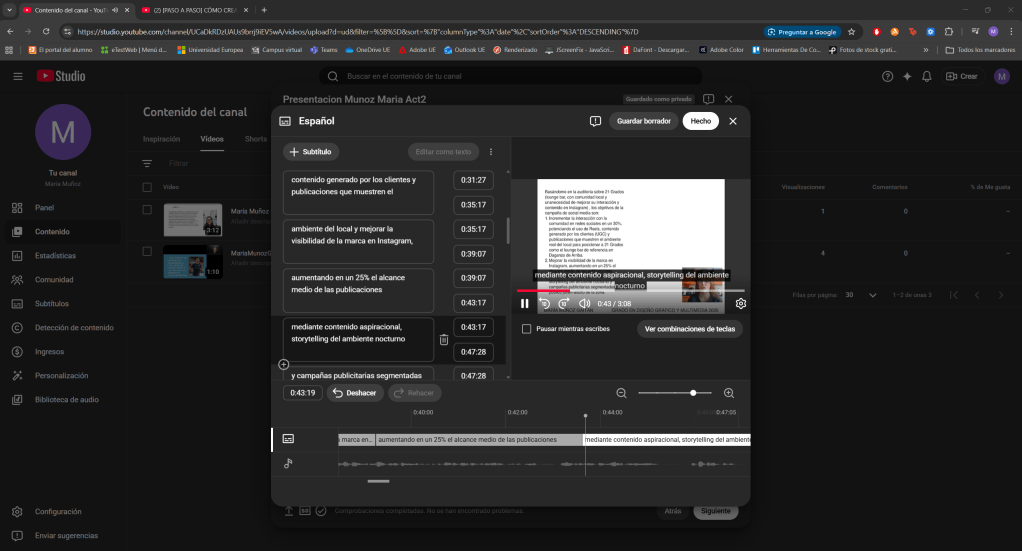
- Download: Download the
.vttor.srtfile and proceed with the conversion for WordPress.tv.
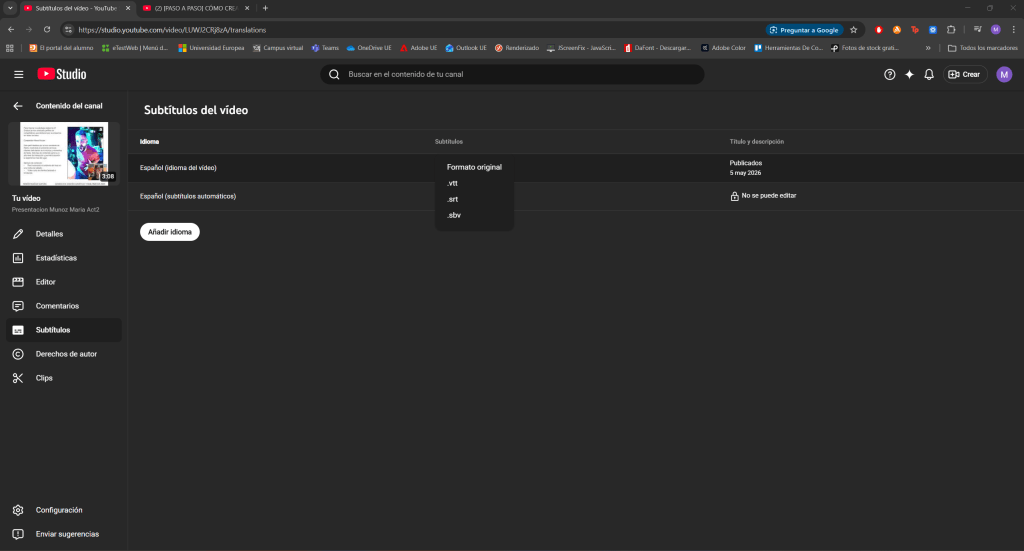
You can also translate this subtitles by adding a new language on Youtube Studio editor.
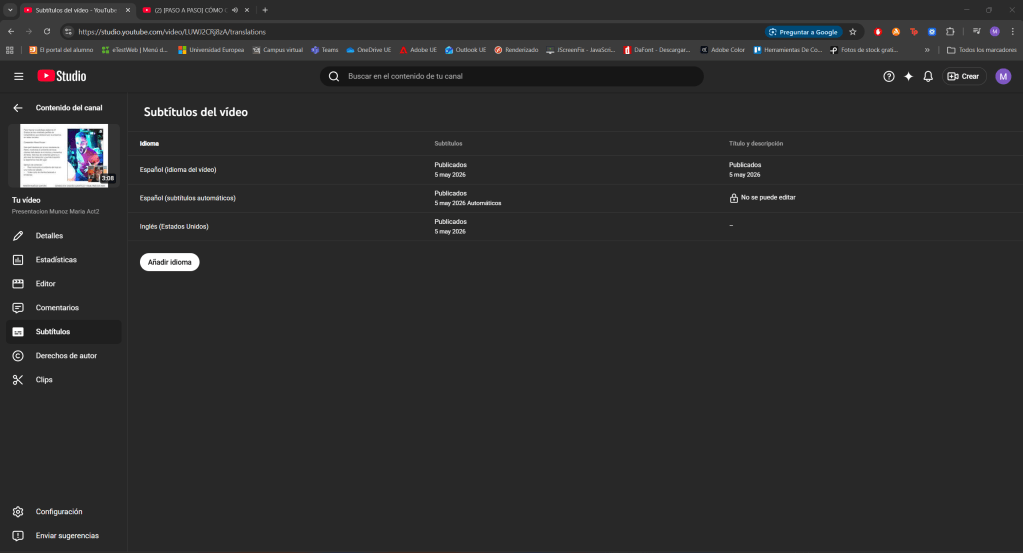
Here you can see the example video which has been subtitled in Spanish and then in English. https://www.youtube.com/watch?v=LUWJ2CRj8zA
5. Uploading to WordPress.tv (For Moderators) Once you have your finalized files (.ttml or .srt):
- Navigate to the video edit page on WordPress.tv.
- Locate the Subtitles/Captions section.
- Upload: Select your file from your computer.
- Language Assignment: Select the correct language for the file being uploaded.
- Publish: Save changes to make the subtitles live.
